鲁鲁鲁爽爽爽在线视频观看,中文精品久久久久国产网址,国产情侣真实露脸在线,成人毛片18女人毛片免费

+ 86 - 20 - 3992 0957
English
HomeEquipment
SKP 4000 & SKB 4000
SKP 4000 & SKB 4000
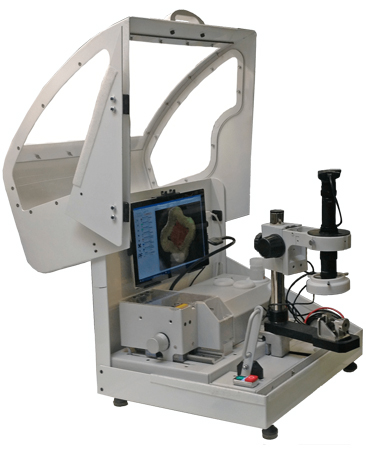
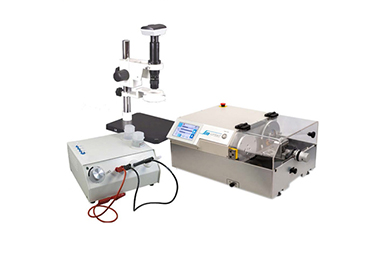
Mobile micrograph laboratory enables quick, user-friendly, reliable, and cost-effective quality assessment of a crimp or splice connection.

All the work steps are integrated in one device: first a sample is cut, its cross-section surface is grinded and etched to make necessary details visible, finally it is located under the optics to get macro image and to measure its parameters.

Brand-new sample holder assures proper sample positioning and makes transfer from one process stage to another easy and fast. One micrograph costs less than 1.00€ (example based on 10,000 micrographs incl. consumable materials).

Technical characteristics
  • Power supply
    230 V / 50 Hz; 110 V / 50 Hz (US); 100 V / 60 (50) Hz (Japan)
  • Power
    350 W
  • Cutting and grinding module rotation speed
    5 000 – 20 000 rpm, separately regulated
  • Etching agent
    CE 1
  • Etching voltage
    12 V
  • Etching current
    1,5 A (optionally adjustable)
  • Protective devices
    Plexiglass cover
  • Lighting work area
    LED
  • Cycle time
    3-5 min.
  • Weight
    26 kg
  • Dimensions SKP 4000 (W x D x H)
    465 x 408 x 437 mm
  • Dimensions SKB 4000 (W x D x H)
    575 x 517 x 484 mm
  • CE conformity
STANDARD FEATURES
  • Case
    Case
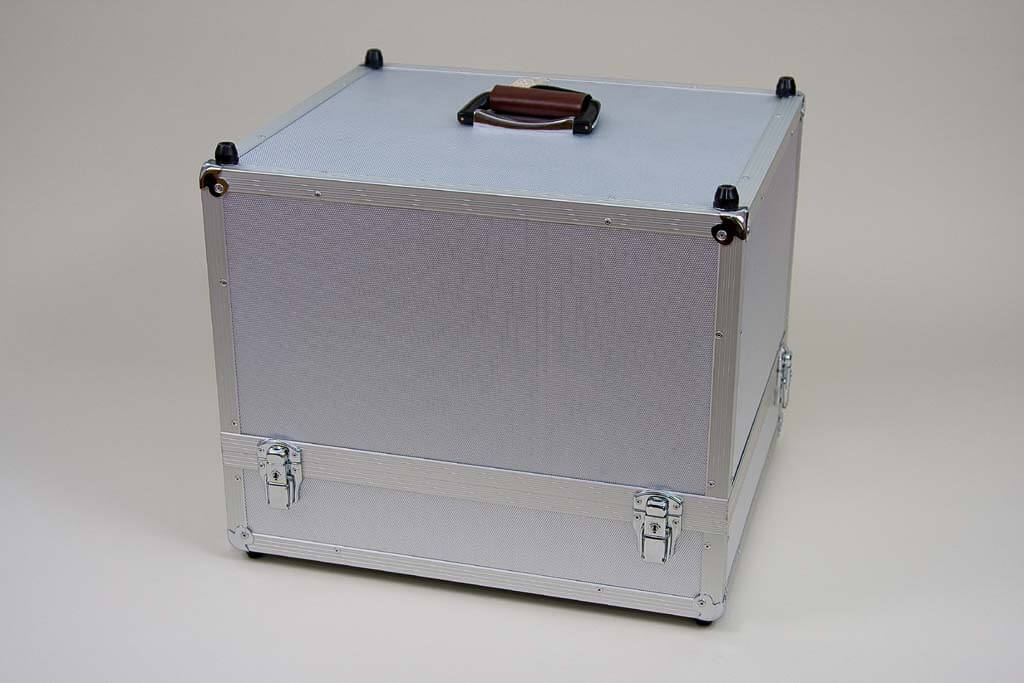
    SKP 4000 case has a handle for convenient movement and a compartment for safe transportation of the optical lens. It was designed for being frequently moved, e.g. between rooms or to the premises of the third part. The firm metal lids are quickly opened using clamp fasteners.
    SKB 4000 is a benchtop version more adapted for work within one place. It has a protective cover which could be closed and locked at the end of work to keep the device safe from environmental impact.
  • Cutting & grinding module
    Cutting & grinding module
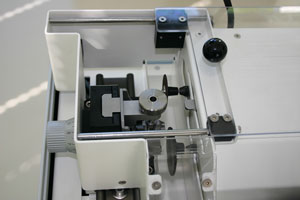
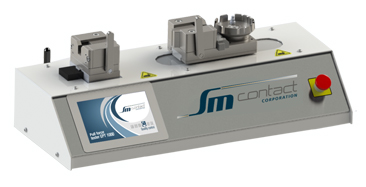
    This module consists of a cutting wheel, grinding wheel and a transport carriage.
    To start the process operator places a sample into a sample holder and a sample holder into the carriage. As soon as a protective cover is closed, the discs could be launched. Carriage is moved between the discs with a lever and its proximity to the disk is adjusted with a feed screw.
    The cutting and grinding module rotational speed can be separately regulated from 5 000 to 20 000 rpm.
  • Innovative sample holder
    Innovative sample holder
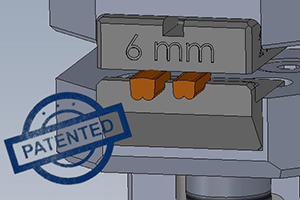
    Brand new holder by SM Contact has interchangeable jaws adapted to corresponding connection.
    Its shape precisely follows the shape of a sample, while special stop block fixes the sample at the same horizontal axial position. As a result perpendicular sample position and proper cut guarantee valid measurement results.
  • Etching module
    Etching module
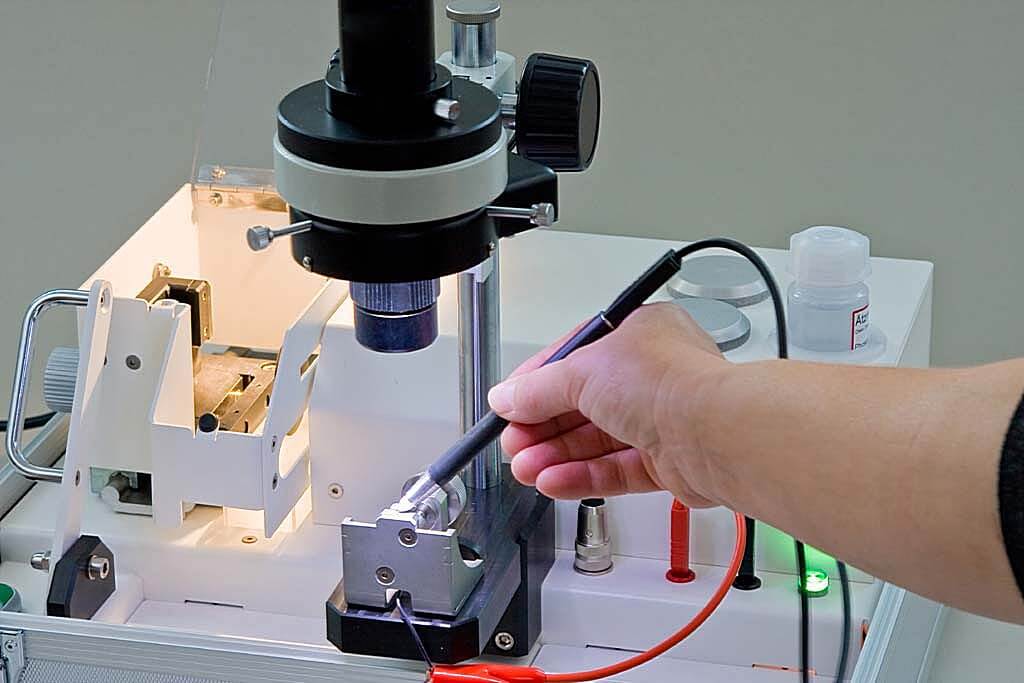
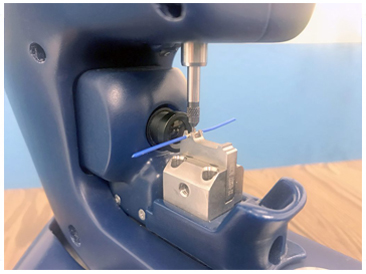
    Etching is necessary to make relevant details of a cross-section more visible. The current is applied to the sample holder and a felt pen dipped in electrolyte is used as a cathode.
    Stable position of a sample holder is assured by the special receptacle and the etching time is limited with an adjustable timer for reasons of energy saving and safety.
  • Imaging
    Imaging
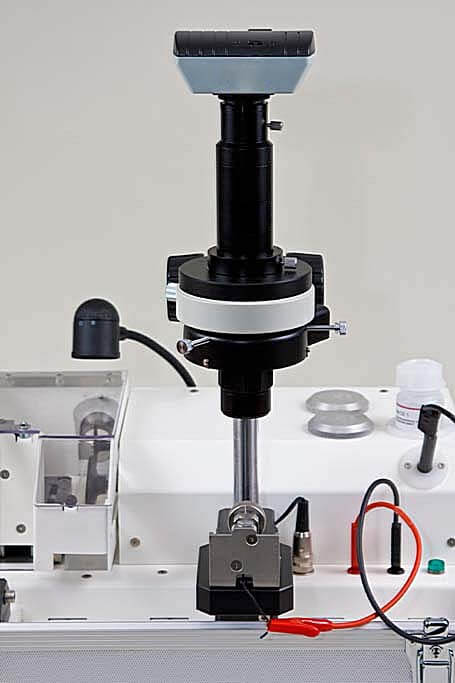
    Prepared sample is located under the microscope to capture the image to be measured. Zoom lens with USB camera transfers the image to the standalone PC (SKP 4000) or to the built-in tablet (SKB 4000). Adjustable ring LED light provides good visibility.
  • Viso 6.00 measurement software
    Viso 6.00 measurement software
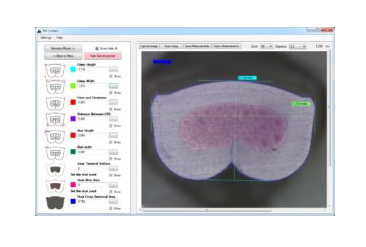
    Captured image is measured with a help of special software – Viso 6.00. Operator chooses the parameters to measure, its reference values and performs the measurement on a cross-section image: measurements with appropriate presets or comparison to the Control list.
    It also provides dimensions detection and data export to PDF format.
  • Supply kit
    Supply kit
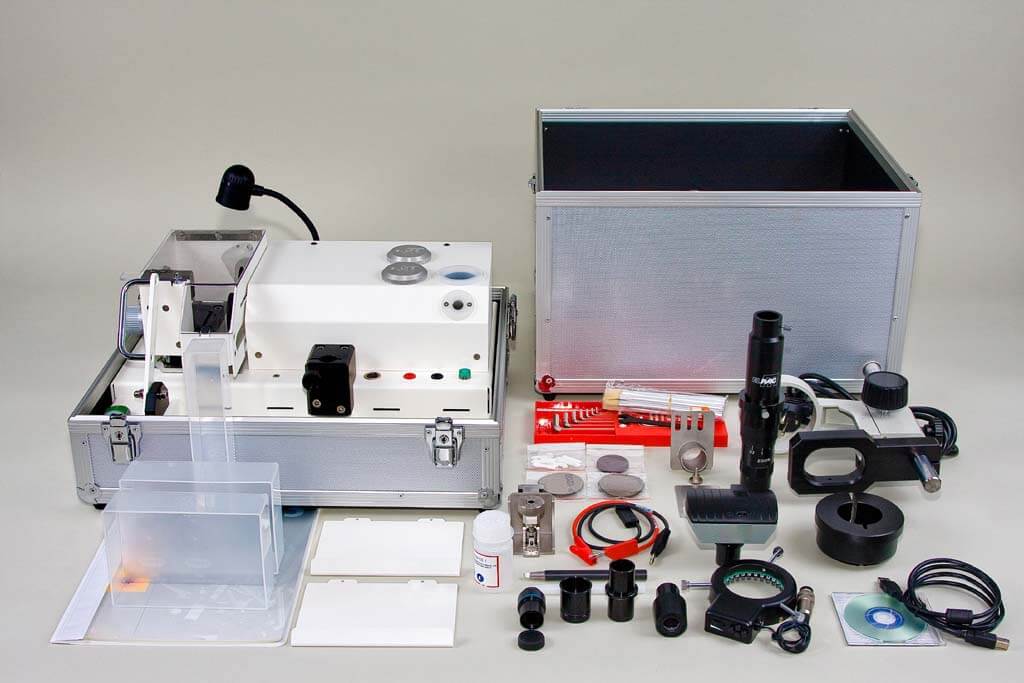
    All the necessary spare parts and consumables are included into supply kit: abrasive papers, cutting disks, etching pen inserts, electrolyte, crossline reticle, etc. It is also available on stock on tooling.smcontact.eu
OPTIONS
  • Viso 6.00 automatic quality control
    Viso 6.00 automatic quality control
    All the measurement results could be automatically uploaded to Customer‘s private area in SM Cloud data storage. If they diverge from the Control list, SM Contact engineers get a signal and provide Customer with the assistance.
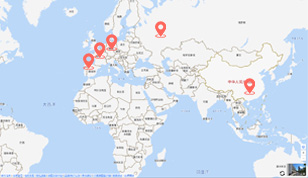
  • SM CONTACT FRANCE
    Headquarters est. 1986
    +33 (0) 1 64 63 66 66
    Fax +33 (0) 1 64 63 67 22
    smcontact@smcontact.eu
    20-22 voie Gallo Romaine
    77860 Quincy-Voisins, France
  • SM CONTACT ASIA
    Asian subsidiary est.2008
    +86 20 3992 0957
    info@smcontact.cn
    #5-#8, building A7,Huachuang Industrial
    Park,9 Huateng RD, Shiji Town,
    Panyu District,Guangzhou,China
  • SM CONTACT ENGINEERING
    Russian & CIS subsidiary est. 2011
    +7 (812) 980 97 93
    info@smcontact.ru
    21 lit. A Basseynaya Street
    196191 Saint Petersburg, Russia
  • SM CONTACT GmbH
    German subsidiary est. 2015
    +49 89 693 30812
    sales_de@smcontact.eu
    Alte Landstrasse 25
    D-85521 Ottobrunn, Germany
  • SM CONTACT SPAIN
    Spanish subsidiary est. 2017
    +34 645 22 62 37
    smcontact@smcontact.eu
    Carrer de Vilafranca, 7
    08024 Barcelona, Spain
  • SM CONTACT TECH
    Baltic subsidiary est. 2018
    +372 56 829 870
    orders_smct@smcontact.eu
    Kadastiku 57A
    21004 Narva, Estonia
  • Guangzhou Geulu Equipments for Electronic Products Co,Ltd
  • #5-#8, building A7 Huachuang Industrial Park , 9 Huateng RD, Shiji Town, Panyu Dist, Guangzhou , China
  • +86- 20-3992 0957

    info@smcontact.cn

    lpth.com.cn

? SM Contact 2019 粵ICP備20018780號
PARTNER ACCESS
I have read the Privacy and Cookies policy and consent to the collection, processing and use of my personal data.
PARTNER REGISTER
I have read the Privacy and Cookies policy and consent to the collection, processing and use of my personal data.
*Required fields
REGISTER